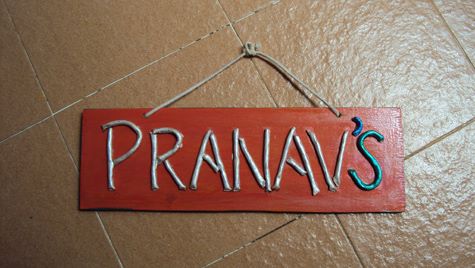
Shall we wrap up the week with a easy but useful DIY? There are scores of small online stores that make nameplates. And then there are some of the brick-and-mortar stores I’ve featured in the past like Confluence which also specialise in this area. The ceramic ones are a rage all over and one can spot them in many malls, or you can make your won by buying just the individual letters in places like Mother Earth.
But, we wanted to make it ourselves and we did. Again on a Friday evening ;) It took us about 2 hours to make it from scratch to finish. So, if you can spare two hours this weekend, you could make one too.
Things you’ll need:
1. A small piece of plywood
2. Acrylic colors
3. White modeling clay
4. Brush
5. Fevicol
6. Varnish
7. Thread
8. Primer
Steps:
1. Sand the piece of plywood. Apply a coat of primer and let it dry.
2. Sand it again.
3. Apply the base color – it can be a color of your choice. I chose a combination of red and orange to give it different hues – not very visible in the picture.
3. Trace the letters with a white chalk.
4. Mold the clay into thin strips and paste it with fevicol along the traced letters.
5. Paint the clay.
6. Let it dry and seal it ff with varnish.
7. Drill holes, pass a thread and it’s ready to be hung.


2 Comments
Wonderful DIY… Clay is something we have never tried… Should try to experiment… And what better way than a DIY nameboard to display your creative skills right at the entrance ! Way to go !
Really cool Lakshmi!