This post is sponsored by Capricoast.
We often associate wood as the material for interiors. After a radical introduction of stainless steel as the prime material in our previous kitchen tour, today I take you through its traditional alternative: a ply kitchen that is budget-friendly without compromising on accessories. This is also executed by CapriCoast. Just like the previous post, all frequently asked questions are addressed in this post: how much should a ply kitchen cost, will the vendor undertake civil work, what material to use in a kitchen, is waterproof ply necessary etc etc.
This home is part of the Zed Homes community, an eco-friendly project that is close to our hearts.
Key details about the project:
Name of the project: BCIL, Zed Homes
Location: Bangalore
Size: 8 feet hob side (hob and sink on opposite walls)
11 feet sink side
Material used in kitchen: Ply
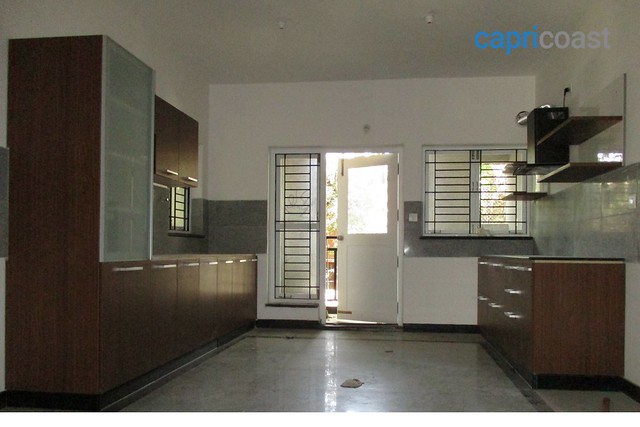
Shape of kitchen: Parallel
Price: INR 2,12,000 (2.12 Lakhs)
Designer speaks on the process
Excerpts from a tete-a-tete with the designer to understand how the kitchen took shape.
What inputs did you get from the customer for this kitchen: any preferences, constraints?
Given that BCIL Zed Homes is a green project, the natural inclination of the customer was towards natural materials. They preferred a material that would last long.
Any inputs from the customer on layout and design?
They are a middle-aged couple who gave more weightage to ease of accessing, storage space and functionality. It’s a no-brainer that Indian cooking demands a good counter space. So, it was practical to position the microwave as a wall unit and free up the counter.
What are the advantages of a ply kitchen?
This kitchen has a matt-finish instead of glossy finish that you often see in showrooms. Though the glossy finish scores high on looks, the downside is that it is high on maintenance. The spills are easily visible and requires one to immediately wipe; matt is a little forgiving. Similarly, the scratch marks reflect easily when light falls on the surface. With small kids around, this can be a challenge.
The ply used is treated which makes it fungus-free even if the surface is damp.
How long did it take to finalize the layout?
The kitchen’s layout made it easy to plan the interiors. The design was finalized within 2 days.
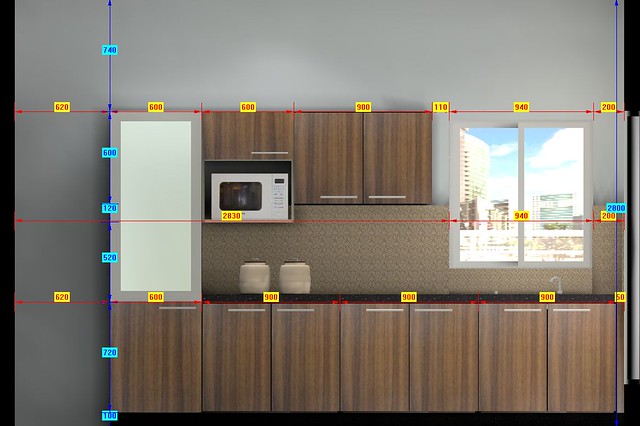
This is the 3D design of the sink side with measurements of each partition.
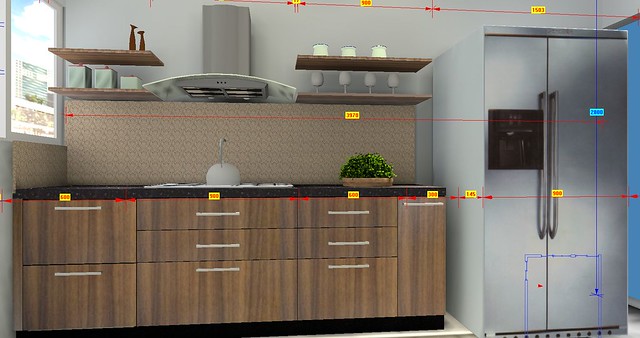
This is the 3D rendering of the entire kitchen.
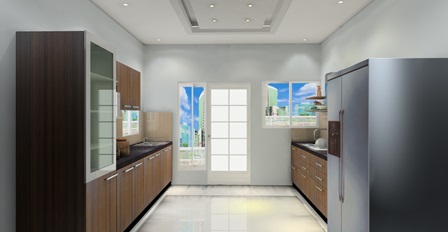
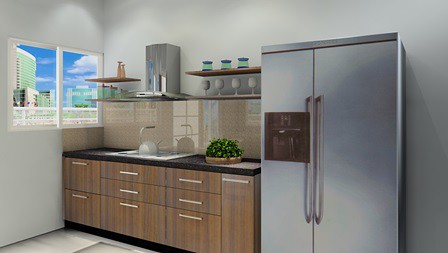
What kind of a sink does this kitchen have, and did you undertake any civil work?
No, we did not do any civil work for this kitchen. The sink is a single bowl one with a drying board.
What material did you go for the countertop?
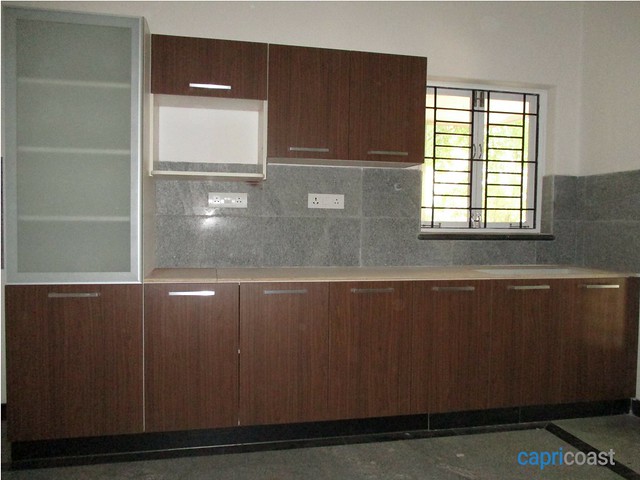
This kitchen has a dark wood grained granite that was provided by the builder.
A granite of 20 mm thickness works better for modular as they are lighter. The nosing part can be of 40 mm. A water grooving is done along the length of the countertop so that there is no spillage on to the cabinets and they are protected. It was laid by the builder with assistance from CapriCoast.
What accessories does this kitchen have?
This kitchen is fitted with Blum tandem boxes, baskets, a tall unit , and a bottle pullout.
This is a snapshot of the actual kitchen.
How long did it take to install the kitchen?
The installation spanned 3 days.
Any suggestions in general that would make it easier to install the kitchen?
Here are a few tips you can keep in mind:
- If you have strong preferences for where you want to have the hob and sink, then ensure you have a working design in paper for the kitchen; that is, the layout of the kitchen, where the counter would run from etc.This should include where to place the tall unit, fridge, oven. See if there is enough space for the person cooking to move around and if everything is within reach.
- Often due to circumstances, you finalize on the designer after handing over of the apartment. And by this time, the electrical and plumbing work is already done. shifting electrical points is still possible during interiors, but plumbing is preferably not an option. So if you have a rough layout in mind and decide on the electrical and plumbing points during the construction phase, it would make it a lot easier later on.
- If you plan on having a hob in the center like a peninsula kitchen, do not worry about running the electrical points through the floor for the hob. They can run it through the cabinetry. Similarly, do not worry about running the copper piping through the floor, this can be done through the cabinetry as well.
- Under the counter purifier or over the sink: this is something you will have to decide early on and get the plumbing and drain points at the appropriate places.
- It is best to get a bare kitchen, if it’s a new house, without any granite laid. This will make it flexible for the team to run copper piping, install the cabinets, lay the granite, sink, hob, and chimney – in that order.
If you have any questions on pricing, payment options, warranty, vendors, process, quality of the material used, or just about anything, please feel free to ask. It has always been a pleasure to answer and engage with you all.
Image courtesy: CapriCoast
