For today’s DIY post, I am reviving one of of the old projects and how it has come handy over the years. Look around your house or take a walk around your apartment, and you can be absolutely sure of finding a piece of wood in good shape. Along with my son’s bunk bed, the carpenter had given two extra strips of rubber wood if we ever wanted to attach a railing on the other side.
So, the mother-son duo got into action. The task at hand was to convert this unused piece of rubber wood into a key/sports equipment hanging rack.
Things you’ll need for decoupage:
1. Unused thick rectangular piece of wood
2. Sand paper.
3. Red acrylic paint or any color of your choice.
4. Mod Podge or fevicol + water.
5. Interesting strips of paper.
Things you’ll need for fixing the rack on the wall:
1. Half-S hooks – 3
2. Wall Hooks – 2
3. Nails/Screws – 6
4. Drilling Machine
5. Pencil for marking
Steps to decoupage wood:
1. Sand the piece of wood with a emery sheet/sanding paper so that the surface becomes smooth and all the dirt is removed.
2. Apply a coat of base acrylic paint of a color of your choice. I chose red Fevicryl Acrylic paint for this project. You can combine two or three colors to give it a funky feel. If you can, apply a coat of wood primer and let it dry before painting. I don’t have a picture after this step because my son was more eager to get on with decoupage than waste time clicking pictures.
3. The advantage of using acrylic paint is it dries fast, so you don’t have to wait longer than 20-30 minutes to proceed with the next step. The wood is now ready for decoupaging. Have a few strips of paper/magazine cuttings ready and stick them onto the surface using mod podge. Let each layer dry before you apply the next one. You’ll know it’s ready when the surface is smooth and the layers of paper blend with the wood. The decoupaged wood is now ready to be transformed into a rack.
How to convert the wood into a rack:
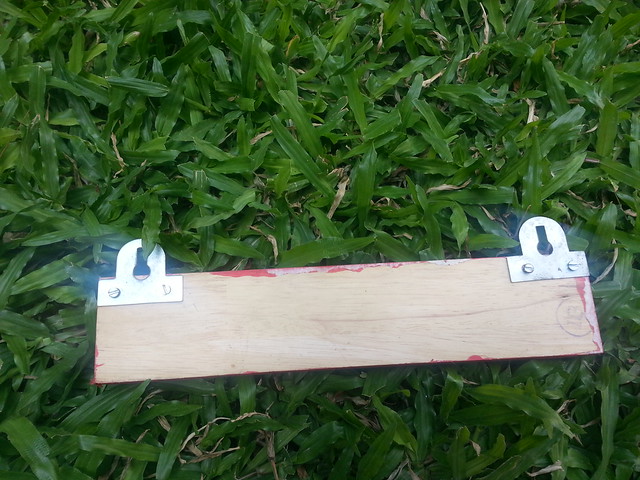
1. On the backside of the wood, mark with a pencil to drill two holes for the frame hanger screws.
2. Each frame hanger hook requires two screws to hold it in place. So drill four holes, two on either end of the wood piece, and fix the photo frame hooks.
3. Turn the piece of wood over and drill three small holes for the half-S hooks. Insert the S hooks in the holes and rotate them until tehy are completely secured.
4. Next, drill two holes on the wall and insert two screws large enough to hold the photo frame hooks.My son helped me with the drilling naturally handing me nails and hammer.
5. Fix the wood piece and hang whatever you wish to.

This is how it looks like on the wall.
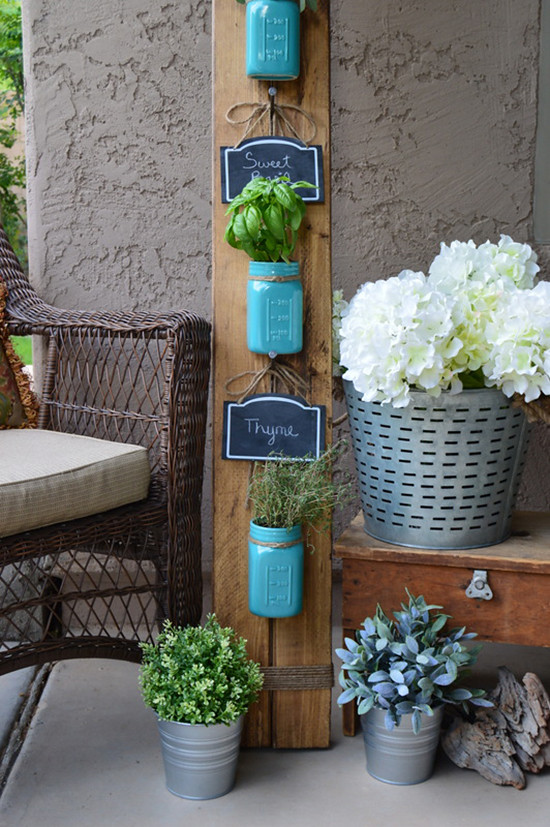
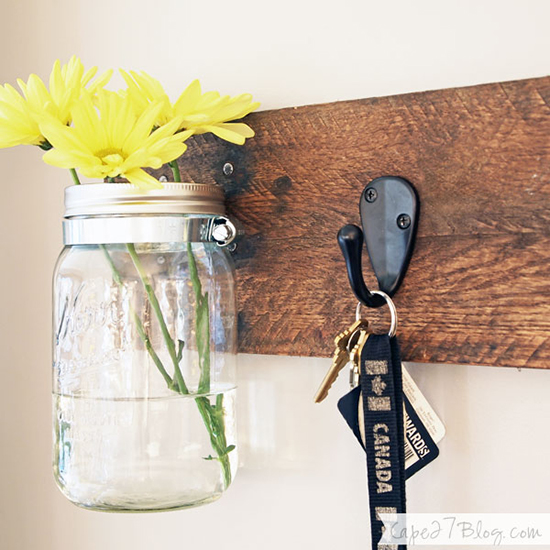
It didn’t cost me more than Rs.350 for this project. Here are some more ideas that I came across today on what you can do with a strip of wood. My favorites ones are to make a vertical herb garden and use it as a holder for keys and vases at the entryway.


Image courtesy:
First six taken by me. Last two images from bhg


