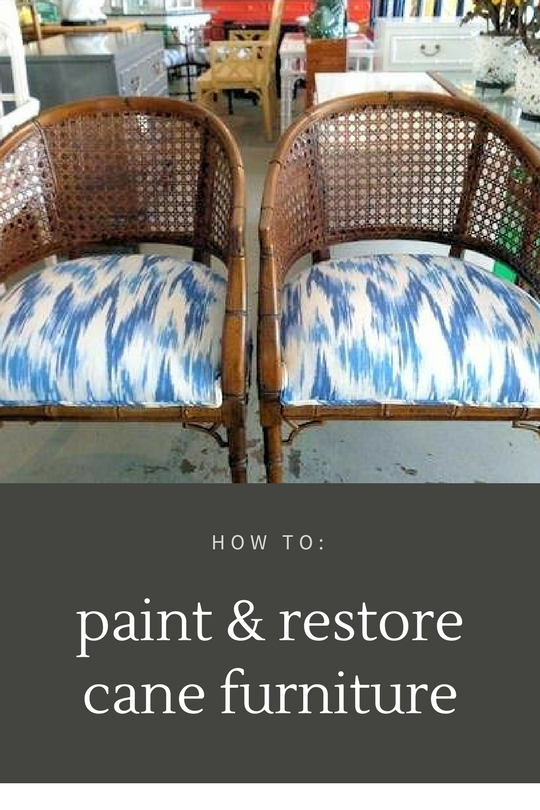
Do you have a set of cane chairs that has lost its sheen and natural color? Wondering if you should give it a new lease of life or just give it away to somebody? In this post, I show you how I painted a set of chairs and the cost of the project.
I had a cane furniture set comprising 4 chairs + 1 table + 2 side tables that were over 5 years old. One look at them and you’ll know they had seen better days. During a recent moving exercise from a BIG house to a smaller apartment, I gave away 2 chairs, the center table and the side tables. However, I retained 2 chairs for use as balcony furniture in the new place. One day while scouting the net, I was inspired to give these chairs a new look.
You have two choices while restoring old cane furniture: giving it a polished look while retaining the natural color or painting it in a different color to complement the surroundings.
I went with the second option, but stuck onto a neutral color in turn with my balcony’s decor rather than paint it in a bright green/orange/red or a much more subdued blue. I’ll take you through my little DIY project for restoring cane furniture.
THINGS YOU’LL NEED TO PAINT
- Sand paper/ Emery sheet (180 and 320)
- Wood Primer
- Wood Enamel
- Thinner
- Brush
- Varnish
- Waste cloth
- Newspaper
- Mixing mug
- Old clothes
HOW TO PAINT A OLD CANE CHAIR
- Put on old clothes and cover your face with a mask if you are not accustomed to strong paint/primer smell. I used safety eye glasses and covered by nose with a cloth instead of a mask.
- Spread sheets of newspaper on the ground and place the chair on top of it.
- Tear palm-sized emery sheet and rub the chair to remove dirt, old paint/varnish. This process will lead to a lot of dust. The more you scrub, the better will be the finish. Do it in intervals if you are not able to scrap in one sitting.
- The smooth surface is now ready for a coat of primer. Follow the instructions on primer can and mix it with the required quantity of thinner in a old mug. Remember primer can only be removed using thinner. So ensure you have adequate quantity of thinner before you start the project. Apply one coat of thinner throughout the chair. For good finish, take just about enough amounts of primer on the brush and ensure it is not flowing/dripping.
- Let the first coat dry for a good 24 hours before you apply the second coat. Follow the same process as you did for the first coat.
- Once both the coats have dried, rub the surface again with sand paper (180 grade) to get a smooth surface.
- Mix a small quantity of paint with thinner (follow the ratio as specified in the back of the container) and apply in over the chair. Wait for a day or until it has dried completely to follow up with another coat. I applied one coat of primer and two coats of paint.
- Once both the coats have dried, apply one layer of varnish. Varnish will protect the chair from dust/dirt and help retain the coat for a longer duration.
COST OF THE PROJECT
- Brush – Rs. 40
- Emery Sheet – Rs. 8
- Primer – Rs. 40
- Thinner – 100 ml for Rs. 10
- Paint – 120
- Varnish – Rs. 110
Total cost: Around Rs. 300. Remember you’ll be left with a lot of paint and primer enough to paint another chair.

After completing this project, I’m brimming with ideas to recycle old furniture and regret giving away those side tables.
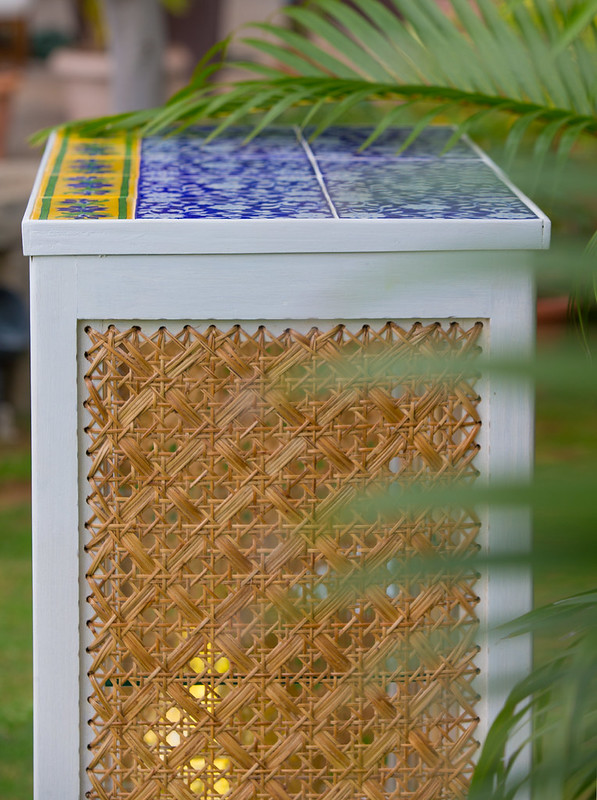
You may also be interested in this furniture restoration project/exhibition by Unnati called Theorie. Explore the portfolio for ideas and inspiration. A teaser image presented below.

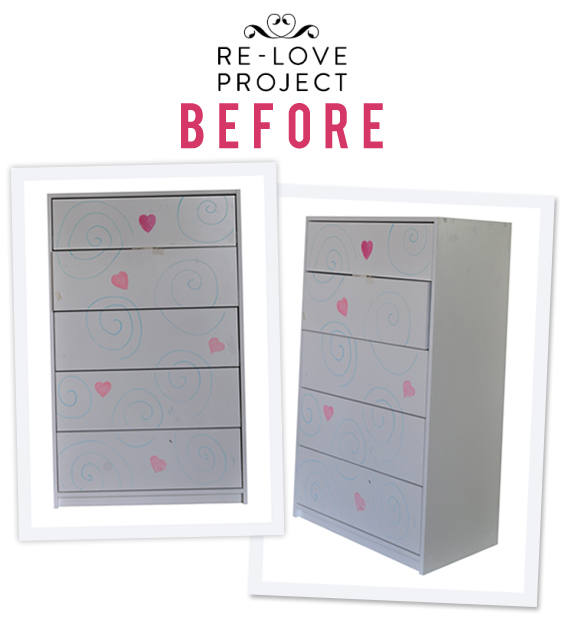
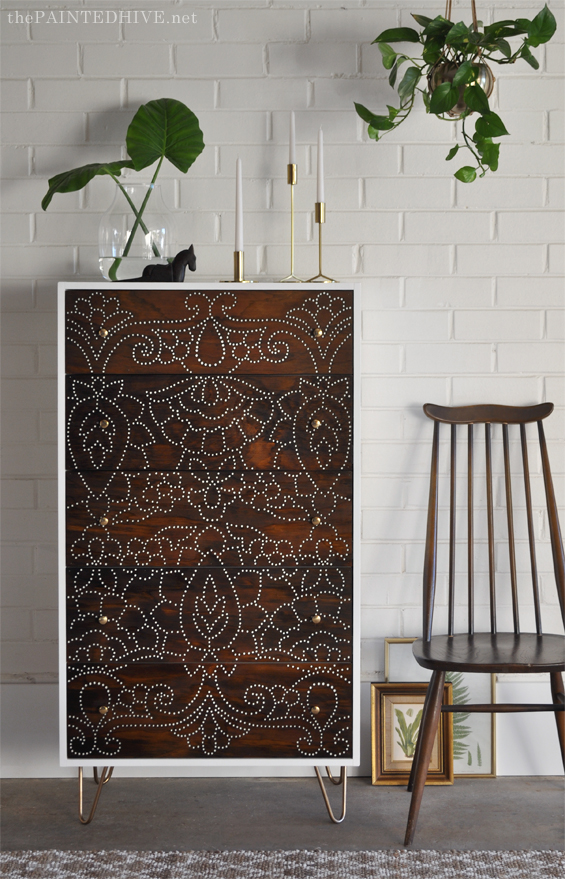
You may love these before and after pictures of furniture makeovers. Check out the post to be inspired for some fresh ideas. Here’s a teaser image.


IC: thepaintedhive.net
Cover photo: justinbradleyforsc.com

40 Comments
good one. changing the outlook from antique to modern look with simple touch.
The end product looks swell!!! :)
You must start a boutique, you know! :)
Cheers,
Anitha
@ nagaravx: Thanks pa.
@ Anitha: That was very flattering. Thanks again.
hey i have this bamboo furniture which is not being used much and has lost its black and brown color. How do I paint that to suit my balcony decor.I live in a ihigh rise aprtment with small balcony
Deepti,
Welcome here. If you like the natural color of the furniture and would like to just get back the shine, then I suggest you sand and clean it with a cloth to remove all the dirt off the surface. You could then apply two to three layers of varnish (with a brush). Let every coat dry for a day before you apply the next coat. Varnish is easily available in all the hardware/paint shops.
On the other hand, if you are keen on giving a different color, then you could follow the same steps listed in the post – sand, prime, dry, sand, paint, dry, varnish, and dry. The paints for furniture are oil-based, so be sure to use old clothes and have thinner handy to clean the brushes.
Hope this helps.
Hi,
Appreciate for the content. I cant stop writing about your blog. Thanks man. I got some information . Great work.
Hi Laksh, Could you please tell me what to ask for at the shop to buy thinner? Which brand did you buy?
Thanks a lot!
Harinee: Sorry for the late response. Well, you can buy any brand. It is called thinner. Just tell them you want the thinner for wood paint.
Thank you for the response – I am really inspired by your site to actually DIY something – the other ‘foreign’ blogs are great to look at for ideas but your site makes me believe I can do it in India too!
I forgot to add – how do you clean your brushes afterwards? Do you use thinner again?
Thanks Harinee. Yes, absolutely. That’s the most important step, don’t forget to clean your brushes immediately afterward. And wear gloves always to avoid the sticky feeling on your hands.
Hello Sir,
I was searching for some information regarding restoring old cane chairs. I have a set of cane chairs ( 3+1+1 and a tea table.. They are old but in excellent condition. I am inspired by your DIY suggestions to bring sheen to them. Thank you so much. I will be taking up the work soon. Will you pl tell me where can I get good cushions for the cane chairs in Bangalore?
Hi Laksh,
Thanks for the great Idea. This is very useful info and we are planning to follow the same. By the way can u please suggest which is the best option to paint? Spray Paint or Painting with Brush? How did u mange to paint inside the corners with Brush? Can we use spray paint for this?
Uma: I used a small brush for the corners. I’d never used spray painting before so didn’t try it though it may be quicker.
Hi Laksh, this is really useful info i must say, but i have some confusion, today i bought a new cane cradle(half vertical oval shape) but for that there is no polish and i want to polish it just like your old chair which u have posted in this thread. so pls suggest me the detailed material requirements of it….pls help me…i hope for your reply for the same
Hi Chary,
If it’s a new one, I’m just curious why you want to polish it. Is it a hand-me-down in which case you can scrape it, prime it and then paint it.
Hi,
Just love your blog. Have been doing a lot of restoration work based on your blog. I need your help in this regard. One of my friend gifted me two cane chairs some 3 years back. Now they have lost their charm and I don’t feel like throwing them out totally. The chairs are completely ok only the rope binding on the handle side has come out. Is there any hope left with this chairs? Can I bring back its gorgeousness. Please let me know. I am also attaching pics :
1)http://prntscr.com/sm2zi
2) http://prntscr.com/sm4db
Thanks :)
Hi Arpita: Good to hear from you and nice to know about your DIY work. Would love to see the restored pictures.
As far as the cane chair goes, I feel it has seen better days. If the rope had come out in the sitting part, I’d have suggested getting a cushion. But since it is in the hand resting part, it can hurt.Fixing is also tricky and is best done by a professional in my opinion.
i have been tramping the sites to get some courage to paint up an old wooden dresser. so glad i stumbled on ur site. great job! maybe after i finish the job i will post some pics. Ta! till then
Kavitha: Welcome here! Looking forward to the pictures of your dresser :)
Hello,
I stumbled upon your blog by chance.. I ws originally looking for cushions for my cane sofas online. They've completely worn out and my sofa looks old too! I'd say ur article has been exactly what i needed! =)
One problem remains unaddressed though.. Like someone asked in a comment above, where can i get cushions for my sofa in bangalore? Could you please help me out?
Yao: If your sofa is not of a standard size, then you can get them done from the furniture shops off Infantry Road or any of the individual furniture showrooms where they can make custom sized cushions – not the big/branded ones like Home Town, @ home but the ones you would find in your locality.
I did try the local furniture shops but i dnt know if its because of the way i look, but they tried to rip me off.. I was hoping perhaps you could reccomend me a shop that you know or something if its not too much to ask..
Otherwise i could just go to infantry road like you suggested.
Thank you so much for the help! =)
Your recipe is just what I needed, my Uncle wanted to throw away his three seater cane sofa and I took it. Followed your procedure and now he wants it back coz its looking damn good. Replaced the cushion as well with a nice striped fabric. Everyone now looks at it more than once. Thanks Laksh.
I'm glad it worked, Mansoor
Thanx Laksh for a really useful info… I'm a defence officer with lot of transfers n movements. In the process my poor cane furniture (bought from Assam) also has to endure d hardships with me ???? I would love to refurnish it giving it a more natural look n gloss. Could u plz suggest the type of paint which I should use, advice on some brand names will definitely help. Are the paints same which r used for wood furniture or specific to cane??
Kudos for ur blog n efforts…thank you
That’s wonderful. . If we restore old furnitures can we reuse the laminates ?
I’m afraid not.
ohh that’s not an issue.. was not sure about it.
Hey Laksh
I have a 3seater 2 single seaters 3 puffy’s and a center table which i have kept in my balcony …..i thought of painting them blue or red is it a feasible option and what kind of paint should i use as its kept outside.
Hi Priya,
you can clean it up first, then apply a wood primer of any brand, and then follow it up with wood paint of a color of your choice. This will work for outdoors too. You can apply varnish for a polished look if you’d like that will keep the paint intact too. Or if you like distressed finish just scrape a bit of the paint and leave it as is.
Hi Laksh,
First I would like to thank you for this wonderful post. I was planning to replace my cane chairs when i came across your post. So i have finally decided to redo my cane chairs. Though I have a little confusion with step 4 where you mention “Apply one coat of thinner throughout the chair. For good finish, take just about enough amounts of primer on the brush and ensure it is not flowing/dripping.” I just wanted to understand that after rubbing with the sand paper you want us to first coat the chair with a thinner and then apply the combination of primer and thinner to the chair? Also once it dries do i again have to paint it with the thinner and then apply the coat of primer and thinner again. I do apologize if this is a stupid question.
Thanks,
Rupesh
Hi Rupesh,
I’m glad you found the post useful.
Here are quick steps: Once you sand it, mix the primer and thinner. Since primer is oil based, thinner is the medium to make the consistency loose. Apply one coat of primer. Sand it again.
then apply the emulsion paint.
Just so I am clear, thinner is not for painting directly on the chair, it is just a medium to be used with primer and the paint. Just like how you mix water with acrylic paints.
Hope this helps.
Visitor Rating: 4 Stars
Visitor Rating: 3 Stars
Visitor Rating: 5 Stars
Visitor Rating: 2 Stars
Visitor Rating: 3 Stars
Visitor Rating: 5 Stars
Visitor Rating: 5 Stars