Easter is a reminder of how soon time flies. It marks the end of another school year, and the beginning of summer break. With kids home, Easter is a harbinger of a prolonged period of messy homes, and DIY craft and science experiments all around the home. Some gone awry, of course. If you haven’t given Easter decorations much thought, don’t fret. I’ve rounded up seven, super-easy, fun DIY projects that you can do with materials around the house. You don’t have to run errands for craft supplies. But, you know what the biggest motivator is: these project promise to keep your kids busy for a while. 1. Pink brush stroke easter eggs: this project redefines easy. Boil white eggs, or take a couple of plastic eggs. With flat brush dipped in pink paint, gently paint the surface in random brush stroke patterns. Use a color of your choice. 2. Ink splattered…
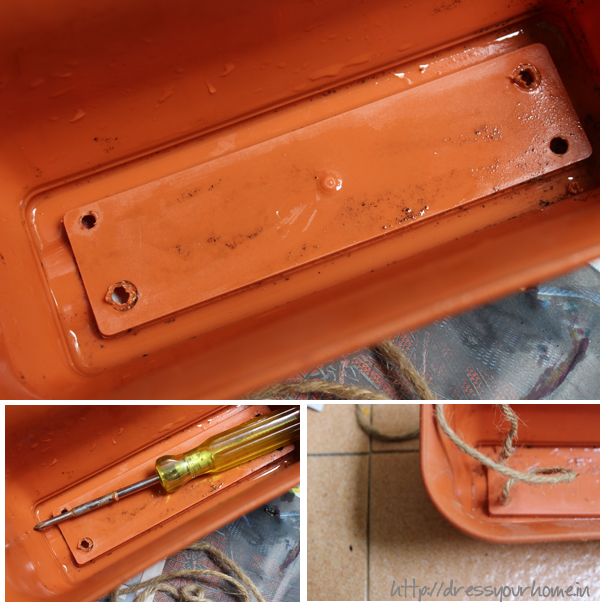
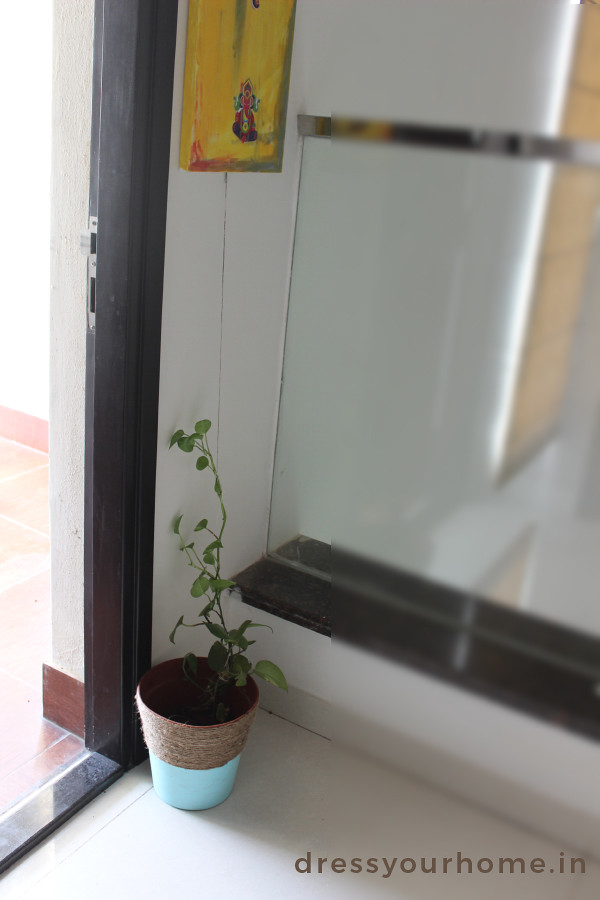
The DIY bug has bit me. The itch to do something around the house lies dormant in action with ideas just swarming in the head all the time. But, when it gets active, there’s no stopping. I like it this way because projects that should have got done months ago are all done in a week’s time. Presenting to you today, a fancy makeover to a humble plastic planter that had clearly seen better days. My mom gave me this planter; exposed to the outdoors I started noticing some cracks along the edges. I didn’t want to give it away which is usually my first instinct. I tried to revive it with a few things found around the house and bought it indoors as a holder for the pothos/money plant. It’s a simple DIY that you can get it done in less than 30 mins under a budget of Rs.150.…
The easiest way to clean bathroom wall and floors tiles, faucets and taps without elbow grease. Use the right products.
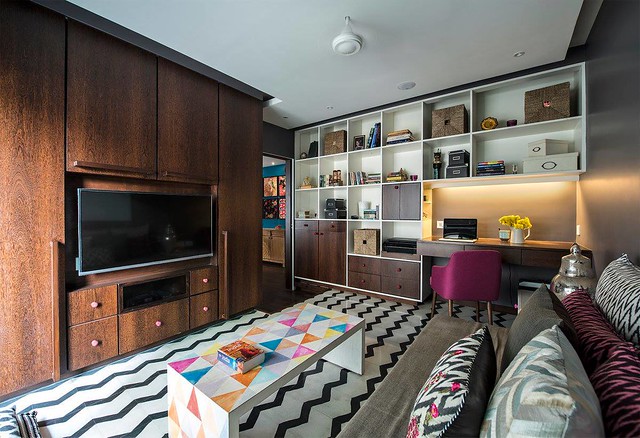
What are one’s choices for using a 150-sq.ft room? If you are imaginative, it can be multi-utilitarian: a study by day, guest room when you have guests, entertainment room by night. The choices are endless when you flex your creative muscles as Sandesh Prabhu proves with this brilliant transformation of a study room in Mumbai. When it comes to interior projects, there are few things as exciting as a makeover project. The novelty that before/after pictures bring is unparalleled. Sadly enough, I couldn’t get the before picture for this makeover. But that shouldn’t stop us from deconstructing the constituents of what makes this a standout. Three takeaways for you if you are planning on a renovation: Choose one focal element: it could be a rug, a piece of art work, or furniture. Select everything else that complements this focal point. In this case, it is the horse artwork. If you…
This is a beautiful illustration of before and after transformation of a bare wall. Shrutilaya has hand-painted this amazing …. to bring this wall to life. Gifted are those eyes and skilful those hands that saw the potential of this blank wall by the dining. Shrutilaya dons many hats as a DIY enthusiast, interior stylist and painter. Her hand-drawn botanical mural transforms this bare wall into something magical giving it a new lease of life. She takes it to another level by juxtaposing two shelves with real plants using the mural as a backdrop. Sheer brilliance. I’ll step aside to let you revel in the images, draw some inspiration, and see if you can elevate your walls to another level. While we are taking about walls, this is something you may want to check out: How to cover an ugly wall in a rental HOW TO HAND PAINT A WALL A…
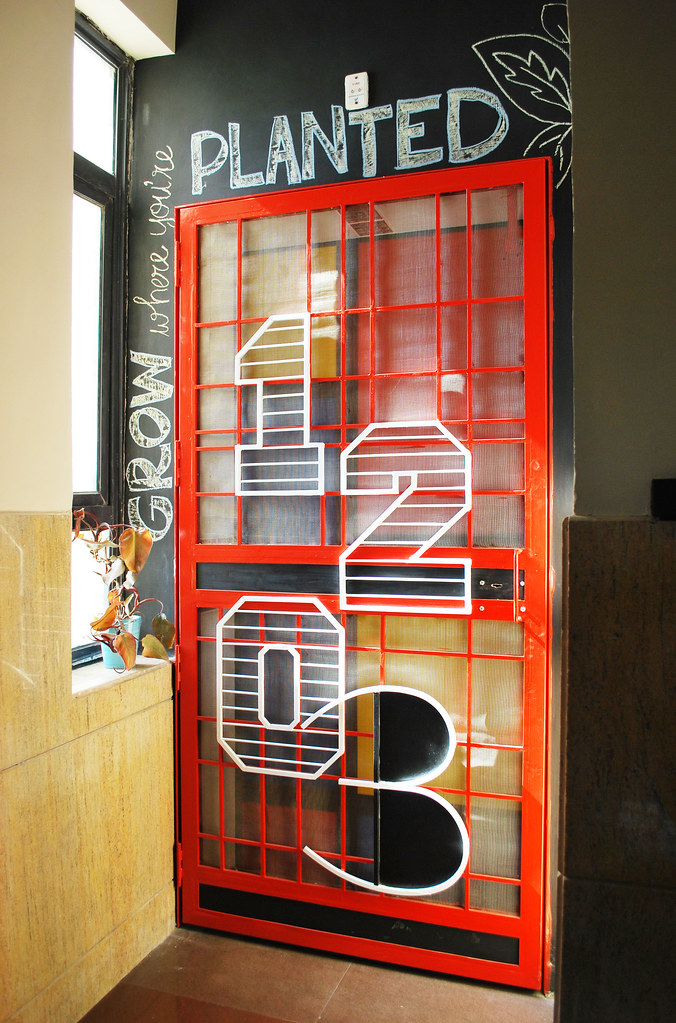
When the entrance to a home is bursting with colors and creativity like this, you would know what to expect inside. Rooms full of surprises, of course! The metal door is bleeding red, while the chalkboard wall surrounding it greets visitors and onlookers to fresh messages everyday! Today we are touring the colorful apartment of Neha Bhardwaj & Gaurav Kapoor, an architect couple and partners at Noida-based design studio LSDA. “Home is where the heART is!!” believe Neha and Gaurav. When they moved to a new apartment in Greater Noida, their biggest challenge was to make their newly possessed home into a piece of work, which reflected their ideology and style of work and at the same time become a setting to the various pieces of artwork, furniture & accessories that the ‘Art-loving” couple have custom created over the past few years. When you step inside the house, this is the view of the entryway and…
The favorite feature of my current home: floor-to-ceiling windows and wall-to-wall glass windows. This ~ translates to a flood of natural light. But, that also means tough deep cleaning once in a while. it’s quite a task to keep the shine on large glass windows. They looked the best the day professionals from MyBlueBottle cleaned the windows. Within weeks, dust and grime formed a layer on the tracks and the shine became muddy. I took it upon myself to periodically clean all the windows to keep the shine on until the next time they are deep cleaned.. What you’ll need to clean the tracks: Vaccum Old socks A sprayer filled with equal parts vinegar + water + two drops of liquid soap Old toothbrush Microfiber Old cloth How to clean the tracks: Loosen the dirt with a tooth brush first. Vacuum the tracks with a crevice attachment. I use an…
Some of the most dustiest places in a home are above our heads – places that are out of normal sight and reach. Ready to look upward? All the surfaces over your heads will get a shine! If you can spare a little over 30 minutes, it will be wonderful. What you’ll need: collect your supplies I’m getting a little inventive with this one after having tried a number of cleaning methods to see what fits best: A bucket to hold your cleaning essentials. 2 to 3 old pillow covers. Colin or any other surface cleaner. Microfiber cloth. Ladder. A pollution mask to cover your face and safety googles. A cloth to wrap your head Vacuum. Wipes How-to: If your house is a duplex, I prefer starting from the top floor and then going down. But, the choice is yours. If it is a single floor, start from the bed…
How did the past two days of cleaning go? Were you able to take out 30 minutes from the day to go through the sorting and purging? Today, we deal with the last of the closets in the house – the guest bed room. This is where I usually stash the bed linen, long coats, jackets, extra towels, and the other racks are often empty for guests when they come. With winter a few weeks away, that is if we have one this year in Bangalore, it’s a good time to air the blankets and comforters in the October sun and put them back. This room was a breeze, wasn’t it. Leaving you with a picture of our guest bed room..
Today I have a super easy DIY post for you. Remember in the rope shelves post, I promised to show you how to make a hanging planter with rope. Ready?
I had been scouting for good balcony railing planters to hold the rectangular planters but yet to find one that doesn’t cost a fortune. I am not too fond of the custom made welded ones. So until then here is a stop gap solution to save floor space and give the plants extra sunlight.
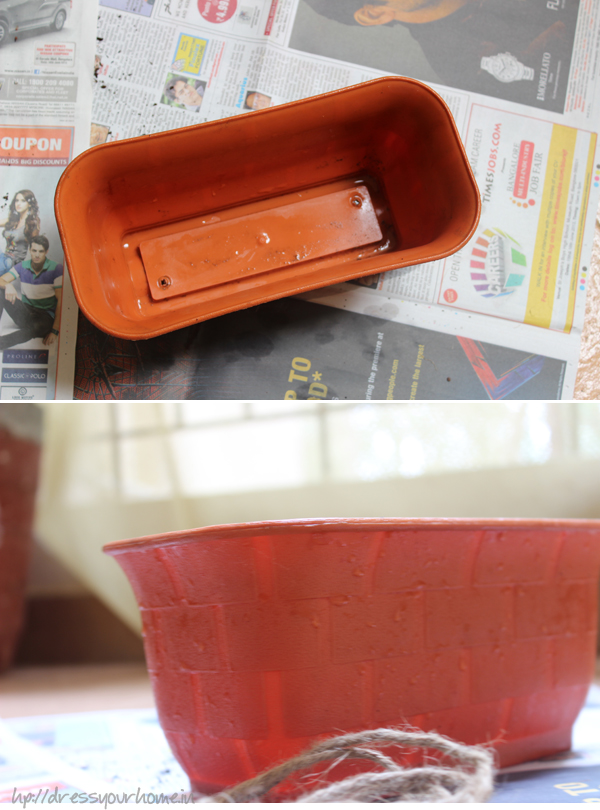
Things you’ll need:
- a plastic rectangular planter of any size
- screw driver
- two ropes of equal length
- two S hooks – the kind you use in the kitchen. You’ll get it in any hardware shop for Rs.20-25 a piece
- soil/potting medium like cocopeat
- newspaper
Steps:
1. Spread a newspaper on the floor and if you have soil in the planter, empty the contents.
